SOLIDWORKS material Library has vast variety of materials to choose from. Still there are some requirements for change in properties of a material. The ability to add custom materials enables users to calculate an accurate mass or simulation of a part or assembly. The following steps show the processes to create a new material in SOLIDWORKS.
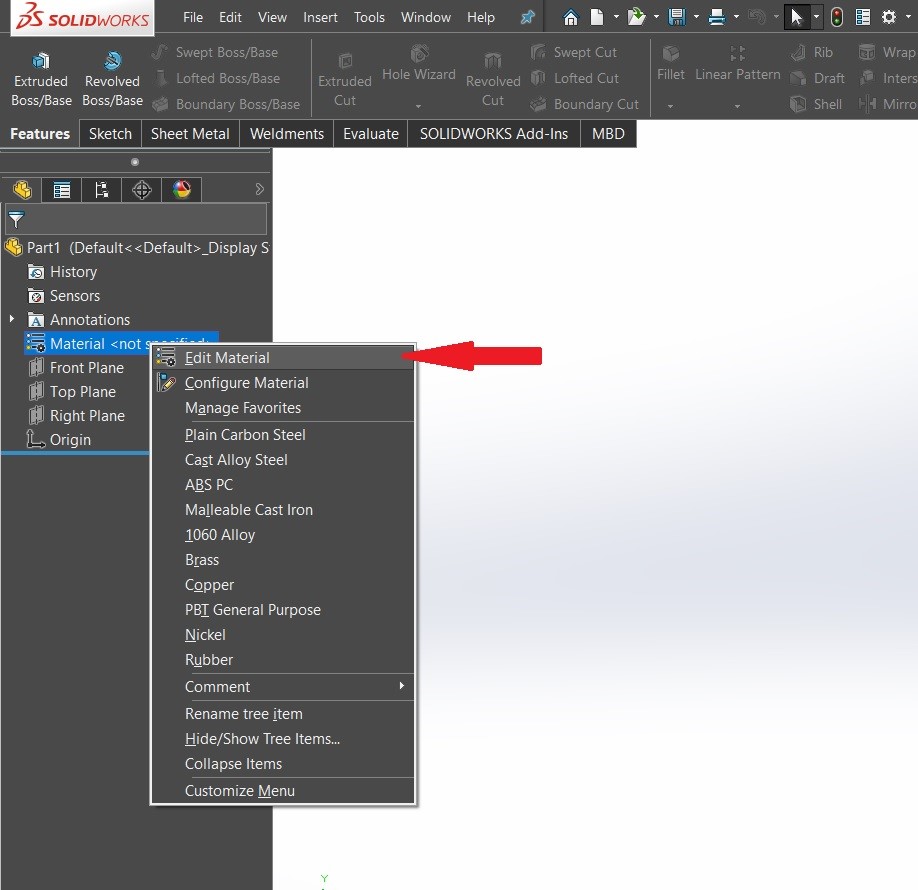
Step 1: In a part, materials can be changed by going to the design tree, right clicking Material, and selecting Edit Material.
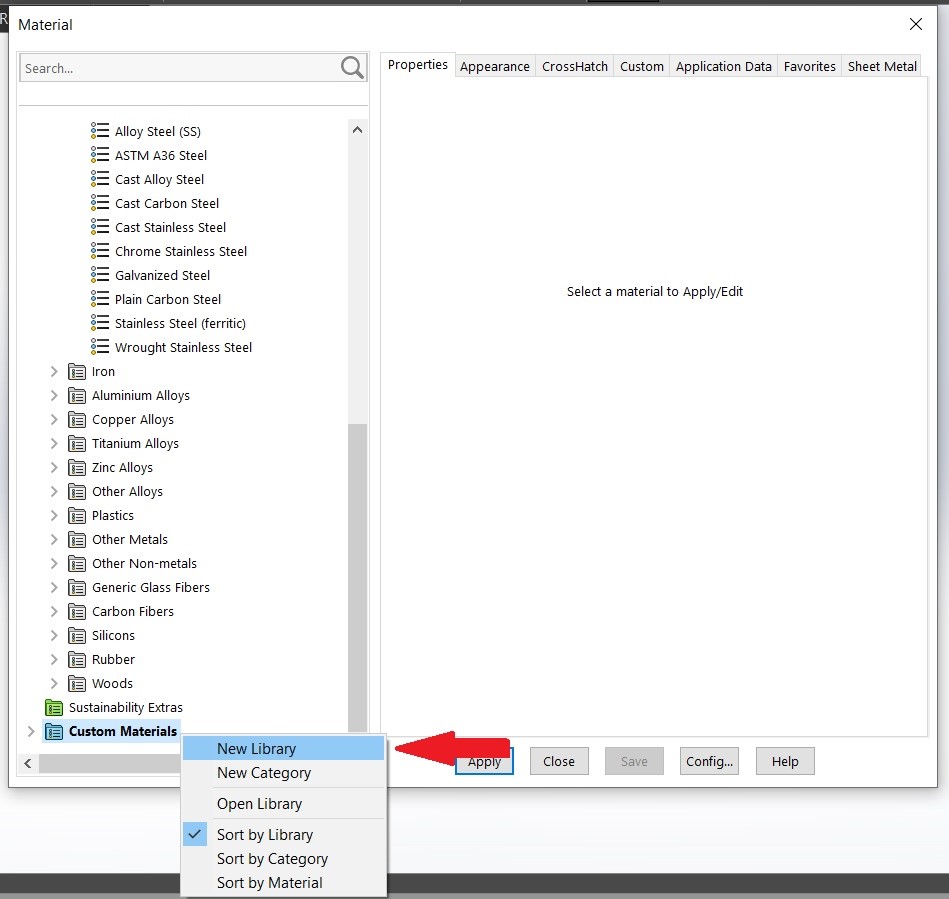
Step 2: Create a new library
Once the Martial dialogue box is open, scroll to the bottom of the material tree. Right click on custom material and select New Library, then create a New Category within the Library. This example uses a library called Custom Plastics and a category called Non-Linear Plastics. Click Apply.
Step 3: Create a new material.
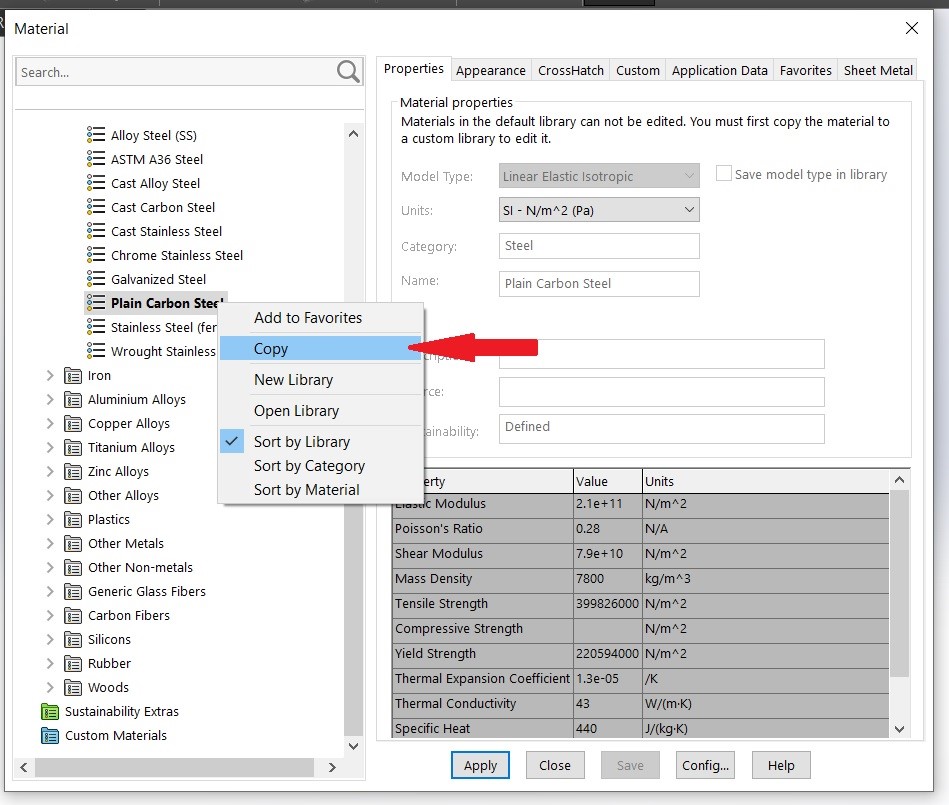
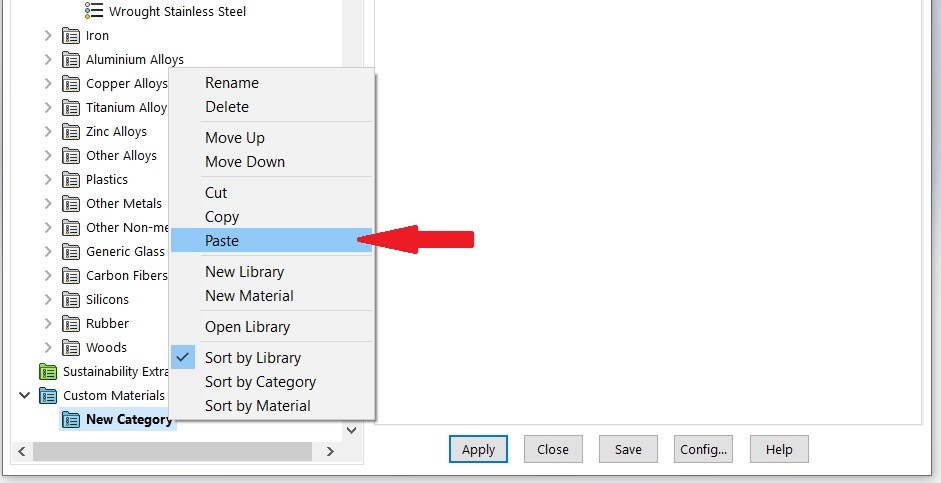
New materials can be created by copying and pasting a similar material, or entering the material properties manually. Existing SOLIDWORKS materials cannot be edited. To copy a material, simply click on a material in the existing SOLIDWORKS Library, right click and select copy. Right click in the new category and select Paste. Click Apply.
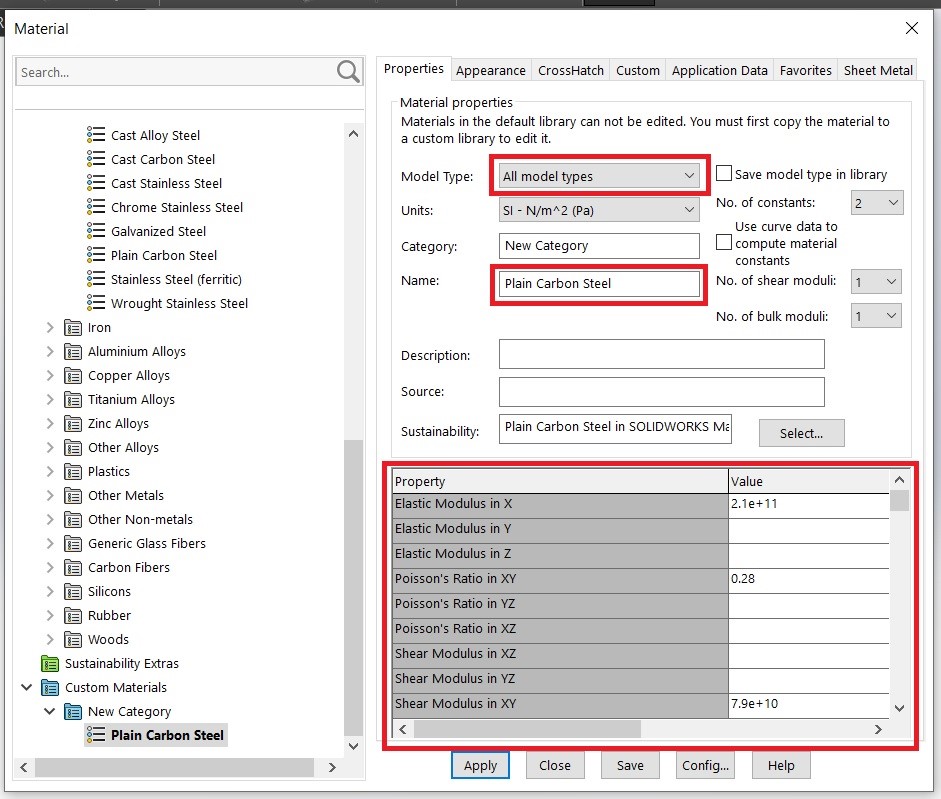
Step 4: Set the new material properties.
Select the model type, and enter the values by double clicking the value box. Click Apply.